
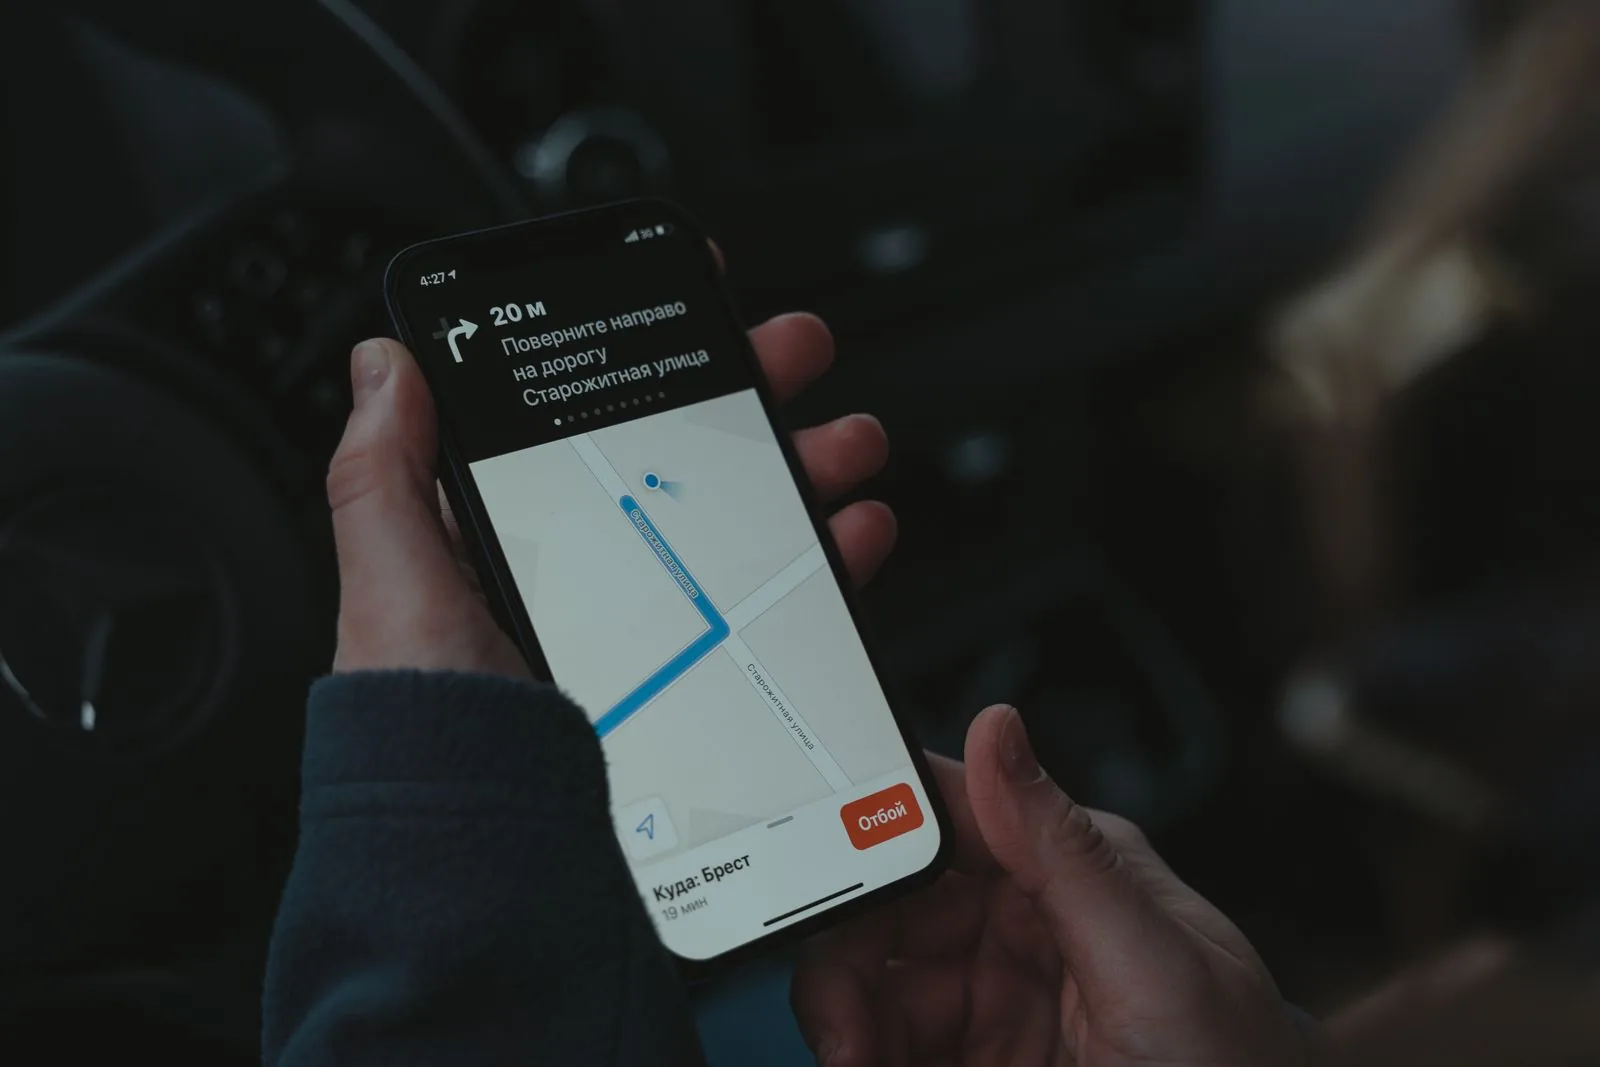
There is a small moment of anxiety familiar to every traveller: the plane lands, everyone switches their phones off airplane mode, and you wonder whether you are about to rack up a fortune in roaming charges just to open a map. Travel eSIMs have quietly made that moment disappear. Set one up before you fly, land, and you are online in seconds, no shop, no plastic SIM, no bill shock.
If you have heard the term but never quite understood it, this is the complete guide to travel eSIMs for 2026. We will cover what an eSIM actually is, how it works, how it compares to a physical SIM and to roaming, how to choose the right plan, whether your phone supports it, how to set it up, region-by-region tips, and the common pitfalls to avoid.
What is an eSIM?
An eSIM (embedded SIM) is a small chip built directly into your phone that does the job of a traditional SIM card, but digitally. Instead of slotting in a physical card, you install a mobile plan onto the chip as a software profile. That means you can add a new carrier's plan to your phone by scanning a QR code or tapping a link, without ever handling a physical card.
A travel eSIM is simply a data plan, sold by a specialist provider, designed for use in another country or region. You buy it before or during your trip, install it, and it connects you to local networks at local-style prices, keeping your regular number and home SIM untouched in the background.
How does an eSIM work?
Under the hood it is straightforward. When you buy a travel eSIM, the provider issues you a profile, essentially the digital equivalent of the information printed on a plastic SIM. You install that profile onto your phone's embedded chip (usually by scanning a QR code). Your phone can store several eSIM profiles at once and lets you switch between them in settings.
Most modern phones support Dual SIM, meaning you can run your home SIM and a travel eSIM at the same time. In practice that means you keep your normal phone number active for calls and texts, while setting the travel eSIM as your data line for maps, apps and browsing abroad. When you get home, you switch data back to your home plan (or just delete the travel profile). No swapping, no tiny cards to lose.
eSIM vs physical SIM vs roaming
There are three common ways to get mobile data abroad. Here is how they stack up.
Roaming (using your home plan abroad)
- Pros: zero setup, keep your number and data seamlessly.
- Cons: historically the most expensive option by far, with unpredictable charges unless your plan includes a specific roaming package. Great convenience, potentially painful bill.
Local physical SIM
- Pros: often cheap local rates and a local number.
- Cons: you have to find a shop after landing, sometimes show ID to register it, physically swap out (and not lose) your home SIM, and deal with a foreign-language top-up process. Time and hassle.
Travel eSIM
- Pros: buy and install before you even leave home, connected the moment you land, no physical card, keep your home SIM and number in place, easy to compare plans online.
- Cons: your phone must support eSIM, and most travel eSIMs are data-only (usually no traditional local phone number, though calls over WhatsApp, FaceTime and similar work fine on data).
For most travellers with a modern phone, an eSIM hits the sweet spot: the low cost and local networks of a local SIM, with the buy-it-from-your-sofa convenience that beats both roaming and shop-hunting.
How to choose the right travel eSIM
Not all travel eSIMs are equal. Weigh these factors before you buy.
1. Data amount
Estimate how much data you will realistically use. Maps, messaging and light browsing are modest; streaming video, video calls and using your phone as a hotspot burn through data fast. Plans are typically sold in tiers (for example a few GB for a short trip, more for longer or heavier use) and some offer unlimited options. It is often cheaper to start with a sensible amount and top up than to overbuy, but running dry mid-trip is a hassle, so leave a little headroom.
2. Coverage area
Check exactly which countries the plan covers. Some eSIMs are single-country; others are regional (for example a plan covering much of Europe, or several countries across Asia) and are ideal if you are visiting more than one place on the same trip. Match the plan to your route, not just your first stop.
3. Validity period
Every plan has a validity window, the number of days the data stays usable, which usually starts when the eSIM connects to a network. Make sure the validity comfortably covers your trip length. A 7-day plan is false economy for a 10-day holiday.
4. Network and speed
Check which local networks the eSIM uses and whether it supports 4G/LTE and 5G. Well-known providers partner with major local carriers for solid coverage. Also look at whether tethering / hotspot is allowed if you plan to share the connection with a laptop or travel companion.
5. Price and top-ups
Compare the cost per GB, and check how easy it is to top up if you run low. A slightly pricier plan that is trivial to extend can beat a cheap one that forces you to buy a whole new eSIM mid-trip.
Is your phone eSIM-compatible?
The one hard requirement is a phone that supports eSIM. The good news is that most flagship and mid-range phones from recent years do. As a general guide:
- Apple: iPhone XS, XR and every newer model support eSIM. (In some regions, the latest iPhones are eSIM-only, with no physical SIM tray at all.)
- Google: Pixel 3 and newer.
- Samsung: Galaxy S20 and newer, and recent foldables and Note models.
Two things to verify before you buy a travel eSIM:
- Your phone is eSIM-capable. On iPhone you can check under Settings; on Android look for an eSIM or add-mobile-plan option in network settings. If in doubt, a quick search for your exact model settles it.
- Your phone is carrier-unlocked. A phone locked to your home carrier may refuse other networks' profiles. Most phones bought outright are unlocked; contract phones sometimes are not.
If your phone is older or does not support eSIM, a local physical SIM remains your best option.
How to set up a travel eSIM (step by step)
Setup is quick and usually takes just a few minutes. The exact menu names vary by phone, but the flow is the same.
- Buy your plan and receive an activation QR code or link from the provider (usually by email, right after purchase).
- Connect to Wi-Fi. Install the eSIM before you travel, while you are on a reliable connection, not while hunting for signal at the airport.
- Add the eSIM. Go to your phone's mobile/cellular settings, choose to add an eSIM or mobile plan, and scan the QR code. The profile installs itself.
- Label your lines. Name your plans (for example "Home" and "Travel") so it is obvious which is which.
- Set your preferences. Keep your home line for calls and texts if you like, and set the travel eSIM as your line for mobile data. Turn data roaming on for the travel eSIM (this is normal and expected, it is how the eSIM reaches the local network).
- Turn off data on your home line to make sure you are not using your expensive home plan by mistake.
- Land and go. When you arrive, the eSIM connects to a local network automatically. You are online.
A good habit: complete steps 1 to 4 at home a day or two before departure, then just flip the data settings when you land.
Region-by-region tips
- Europe: regional eSIMs that cover many countries on one plan are excellent here, since a single trip often crosses several borders. Coverage is generally strong and fast.
- United States and Canada: check the plan uses a network with good coverage where you are actually going; rural areas differ a lot from cities.
- Asia: country coverage and networks vary widely between destinations, so read the specific coverage details, and consider a regional plan if you are hopping between countries.
- Multi-country trips: always prefer a regional plan over buying separate single-country eSIMs; it is usually cheaper and far less fiddly.
Common pitfalls to avoid
- Not checking compatibility first. Confirm your phone supports eSIM and is unlocked before you pay.
- Buying the wrong coverage. Double-check every country on your route is included.
- Underestimating validity. The clock usually starts on first connection, make sure the window covers your whole trip.
- Forgetting to turn off home-line data. Leaving it on can quietly trigger the roaming charges you bought the eSIM to avoid.
- Installing at the last minute. Add the profile on home Wi-Fi, not in a panic at arrivals.
- Deleting the profile too soon. Once removed, some eSIM profiles cannot be reinstalled, so do not delete it until you are sure you are done.
Frequently asked questions about travel eSIMs
Will I keep my phone number with a travel eSIM? Yes. Because most travel eSIMs are data-only and sit alongside your home SIM, your regular number stays active for calls and texts on your home line. You simply use the eSIM for data. Calls over apps like WhatsApp and FaceTime work fine over that data.
Can I make regular phone calls on a travel eSIM? Most travel eSIMs are data-only and do not include a local phone number for traditional calls or SMS. In practice this is rarely a problem, since app-based calling and messaging run over the data connection.
Does an eSIM work as soon as I land? Yes, provided you installed and configured it beforehand. On arrival it connects to a partner local network automatically, usually within a minute or two of taking your phone off airplane mode.
What happens when my data runs out? You can top up the plan (if the provider supports it) or install a new one. This is why choosing a provider with easy top-ups matters, and why leaving a little data headroom is wise.
Can I use an eSIM as a hotspot for my laptop or a friend's phone? Often yes, but tethering is not guaranteed on every plan, so check the plan details before you buy if hotspot use matters to you.
Is it safe to buy a travel eSIM online? Buying from a reputable, established provider is safe and standard practice. Your plan arrives as a QR code or link tied to your purchase; you install it yourself, and no physical item needs to ship.
The bottom line
A travel eSIM is the simplest, cheapest and least stressful way for most modern-phone owners to stay connected abroad. Buy the right plan for your route and trip length, check your phone is compatible and unlocked, install it on Wi-Fi before you fly, and land already online, with maps, translation and messaging ready to go from the moment you step off the plane.
When you are planning your next trip, you can compare and buy a travel eSIM right alongside your flights, stays and activities. Browse travel eSIM plans in Atlazi and book the right one for your destination in a couple of taps, then head to the trip planner to map out where you are actually going. Arrive connected, and start the trip the relaxed way.